- User Guide
- CRM
CRM
Welcome to the Team Space CRM user guide, where you will find everything you need to know about how to use our software to manage your customer relationships. This document will explain the main features and functions of Team Space CRM, as well as provide tips and best practices for using it effectively.
This guide is divided into four sections: Workspace, Contacts, Companies, and Reports. Each section will cover a different aspect of Team Space CRM and show you how to access, create, edit, and delete data in the system. You will also learn how to customize your settings, filter and sort your data, and export and import information.
In this guide, we assume that you have already registered for an account and logged in to Team Space CRM. If you need help with these steps, please refer to the Getting Started section on our website. You can also contact our support team if you have any questions or issues.
We hope that this guide will help you get the most out of Team Space CRM and achieve your business goals. Let’s get started by exploring the Workspace section, where you can view and manage your tasks, events, and notifications.
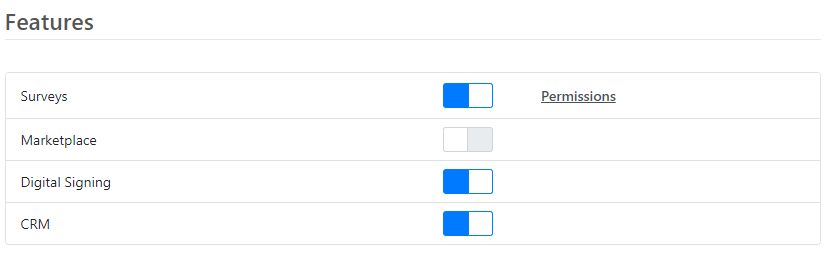
Activating CRM for a Project
To use the survey feature in Team Space, you must activate it for each specific project where you want to utilize surveys.
- Navigate to Project Settings: Go to the project where you want to enable CRM.
- Enable Surveys: Toggle the survey option to activate it for the project.
Enable CRM
Assigning CRM Manager Role
To give users access to manage surveys:
- Go to Project Settings: Navigate to
Project Settings -> People. - Set Roles: Assign the
CRM Managerrole to the desired users. This role will grant them access to the CRM menu.
Modified: 22nd Jul 2024 @ 5:13 am