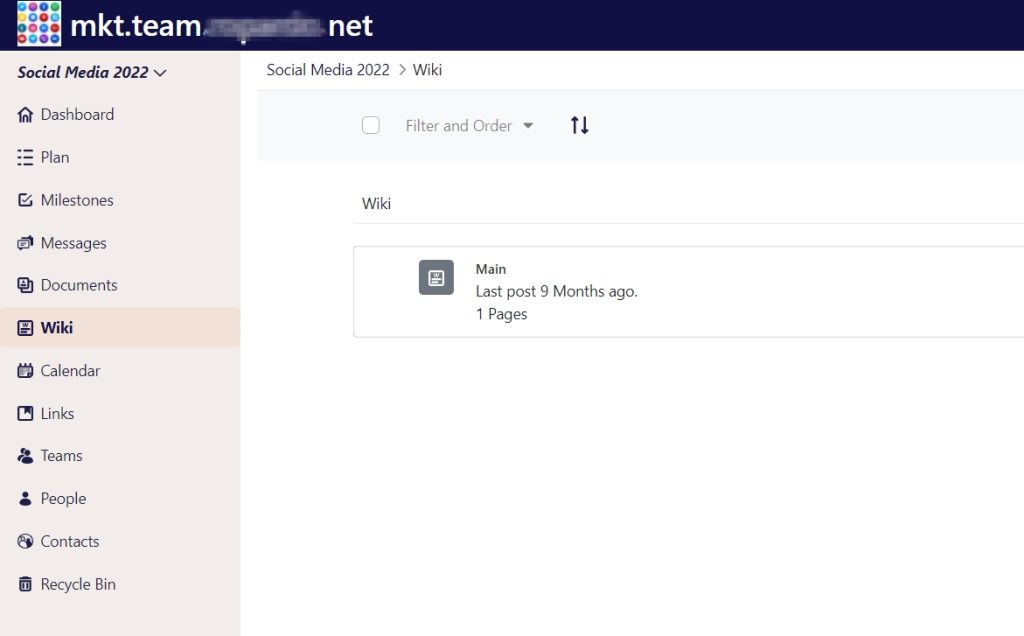
In TeamSpace wiki you can collaboratively create and edit pages and sub-pages to create a project wiki. It’s a functional and simple approach to turn your team’s collective knowledge into easy-to-find answers for everyone. It’s an easy way to save time by sharing documents with team members and clients for collaborative editing and fast approval.
Basic formatting
The TeamSpace editor supports basic text styles, such as bold and italic formatting, headings, strike-through, tables, and image handling. Pasting content such as images or rich text is also supported, while unsupported styling will be stripped by the editor.
To find out more details about syntax in TeamSpace click to add some text and then click again on Show Syntax Help (below the text area, in the right corner) or learn more about creole syntax here.
Tables
To add a new table just click on the plus and select the table icon from the toolbar to add a table. Adjust the number of rows and columns as you need.
Insert line
Click on the line icon from the toolbar to insert a horizontal line in your project wiki.
Image handling
You can add images to a page, where attachments are permitted. Here’s how you can add an image:
- use the toolbar and click on the image icon
- paste an image from the clipboard
- drag and drop an image
The attachment will be automatically uploaded and stored as an attachment.
On the Front Page you can edit, find out details, and/or print information on the project wiki page. Here you can add Child Pages, Draft Pages, Orphan Pages or edit, print and see the details of a wiki.