Project Settings
In Team Space, project settings allow you to customize and manage various aspects of your project to align with your organization’s requirements. This documentation provides an overview of the project settings, including general settings, details, features, teams, and specific functions available under the planning and advanced options.
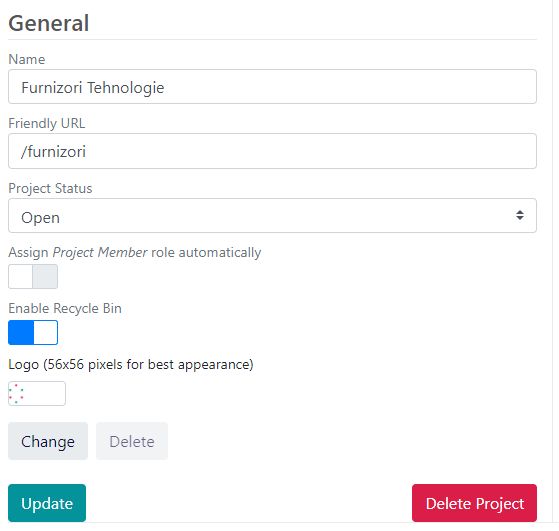
General Settings
General Settings allow you to define the basic parameters of your project:
- Name: The name of your project. Example: “Furnizori Tehnologie.”
- Friendly URL: A user-friendly URL for your project, making it easily accessible. Example:
/furnizori - Project Status: The current status of the project (e.g., Open, Closed).
- Assign Project Member Role Automatically: Toggle this option to automatically assign the Project Member role to new users.
- Enable Recycle Bin: Toggle this option to enable the recycle bin for your project.
- Logo: Upload a logo for your project (recommended size is 56×56 pixels).
To save any changes made in the general settings, click on the Update button. If you need to delete the project, use the Delete Project button.
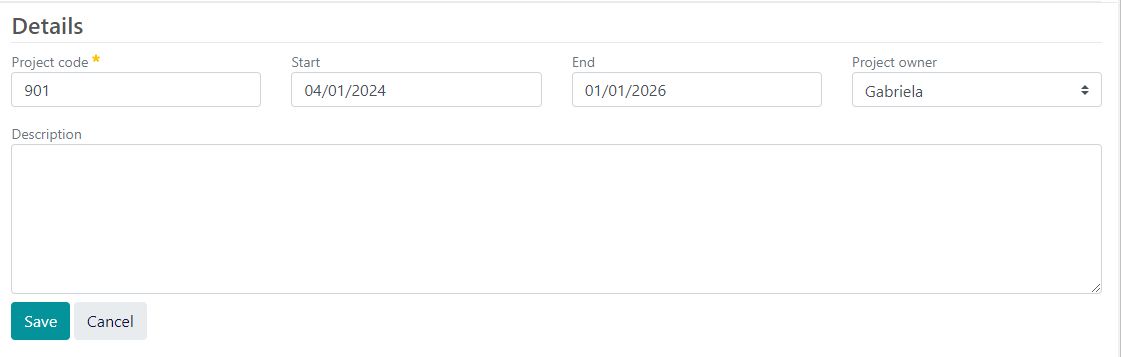
Details
Details provide more specific information about the project:
- Project Code: A unique identifier for the project. Example:
901 - Start Date: The date the project begins. Example:
04/01/2024 - End Date: The expected completion date of the project. Example:
01/01/2026 - Project Owner: The person responsible for the project. Example:
Gabriela - Description: A detailed description of the project’s objectives, scope, and activities.
To save the details, click on the Save button.
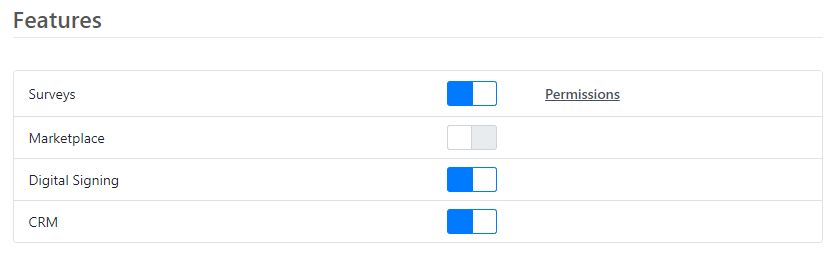
Features
The Features section allows you to enable or disable specific functionalities within the project:
- Surveys: Enable or disable survey functionalities.
- Marketplace: Enable or disable the eCommerce module.
- Digital Signing: Enable or disable digital signing capabilities.
- CRM: Enable or disable the CRM module.
Each feature has a Permissions link that allows you to manage who can access and use these features.
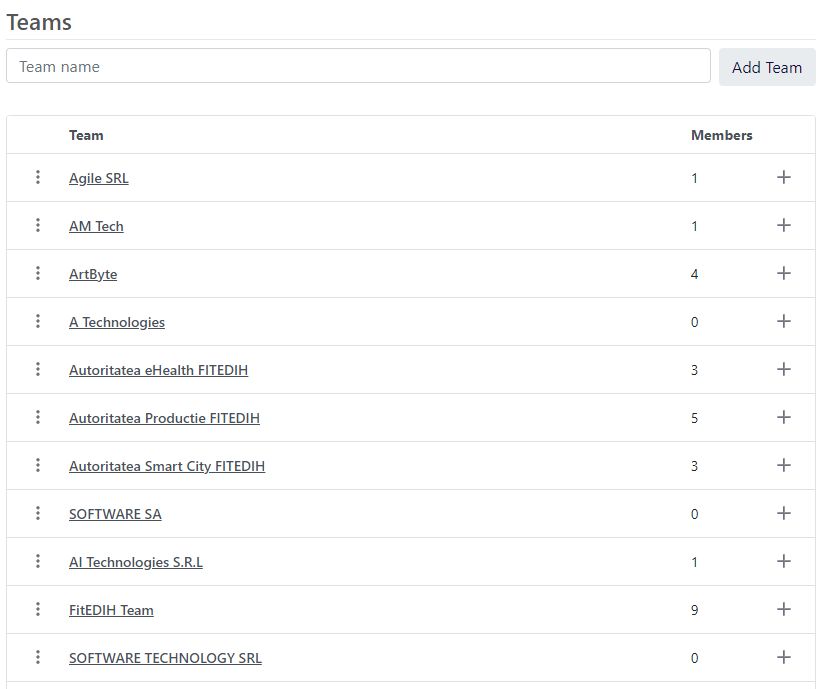
Teams
The Teams section allows you to manage the teams working on the project:
- Team Name: A list of all teams involved in the project.
- Members: The number of members in each team.
To add a new team, use the Add Team button. Each team can be expanded to view or manage its members.
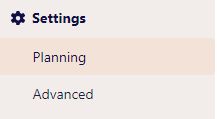
Settings
The Settings menu includes two main options:
- Planning:
- Vocabulary: Define and manage vocabulary at the project level, similar to the Space level vocabulary. This allows for customization of specific terms and lists used within the project.
- Advanced:
- Different advanced functions and settings specific to the project. These settings provide additional customization and control over the project’s operations.
- https://tspace.eu/wp-content/uploads/2024/07/project_settings5.jpg
By utilizing these project settings, you can effectively manage your project, ensuring it aligns with your organizational goals and operational needs.